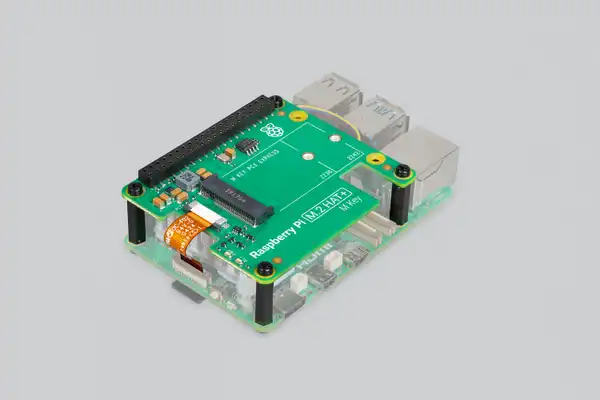
The Raspberry Pi 5 introduces a PCIe 2.0 x1 connector, enabling users to connect NVMe SSDs for high-speed storage. This guide covers everything you need to know about NVMe HATs (Hardware Attached on Top) for the Raspberry Pi 5, including setup, performance considerations, and advanced configurations.
An NVMe HAT is an expansion board that connects to the Raspberry Pi 5’s PCIe 2.0 x1 interface, allowing you to use M.2 NVMe SSDs. These HATs provide faster and more reliable storage compared to traditional SD cards or SATA SSDs.
Faster Storage: NVMe SSDs offer significantly higher read/write speeds.
Reliability: SSDs are more durable and reliable than SD cards.
Expandability: Adds high-speed storage for applications like media servers, databases, or gaming.
Here’s a comparison of the most popular NVMe HATs:
HAT Model |
Key Features |
Price Range |
|---|---|---|
Raspberry Pi M.2 HAT+ |
Official product, supports M.2 NVMe SSDs, includes heatsink, PCIe 2.0 x1. |
~ 25– 25–35 |
NVMe Base |
Budget-friendly, supports M.2 NVMe SSDs, no heatsink included, PCIe 2.0 x1. |
~ 15– 15–20 |
Pimoroni NVMe Base HAT |
Supports M.2 NVMe SSDs, includes heatsink, PCIe 2.0 x1. |
~ 20– 20–30 |
Pineberry Pi Bottom HAT |
Dual M.2 slots, optional cooling, PCIe 2.0 x1, requires external power. |
~ 25– 25–35 |
Geekworm X1001 NVMe HAT |
Single M.2 slot, includes heatsink, PCIe 2.0 x1. |
~ 30– 30–40 |
Waveshare PCIe Adapter |
Simple and affordable, supports M.2 NVMe SSDs, no additional cooling. |
~ 15– 15–25 |
SeeedStudio Dual M.2 HAT |
Dual M.2 slots, supports NVMe SSDs, includes heatsink, PCIe 2.0 x1. |
~ 40– 40–50 |
Below are photos of the most popular NVMe HATs for the Raspberry Pi 5:

Source: Raspberry Pi Official Store
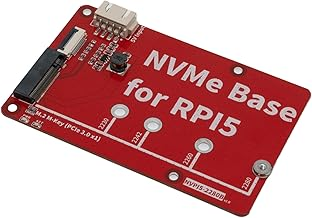
Source: Amazon
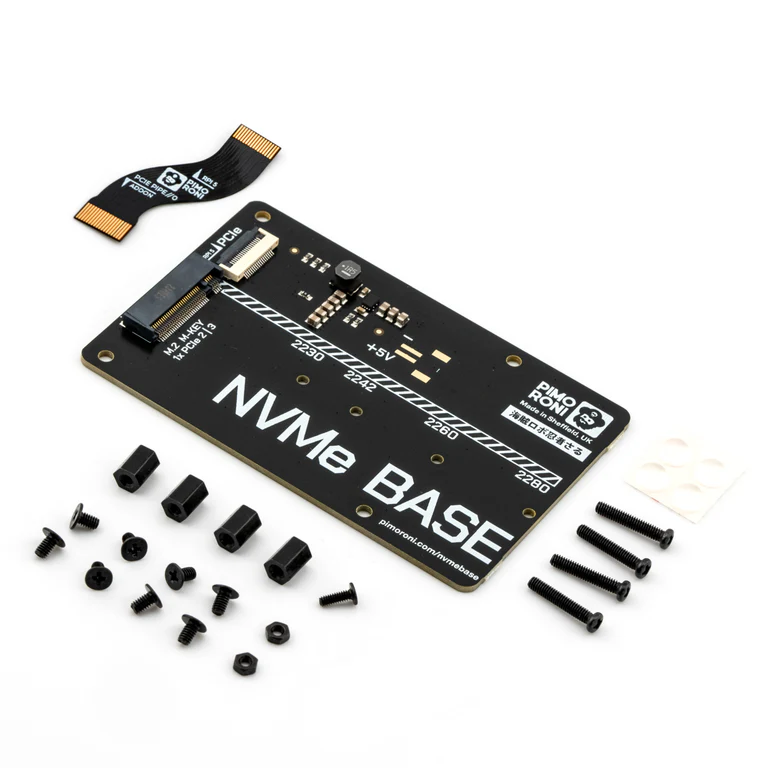
Source: Pimoroni
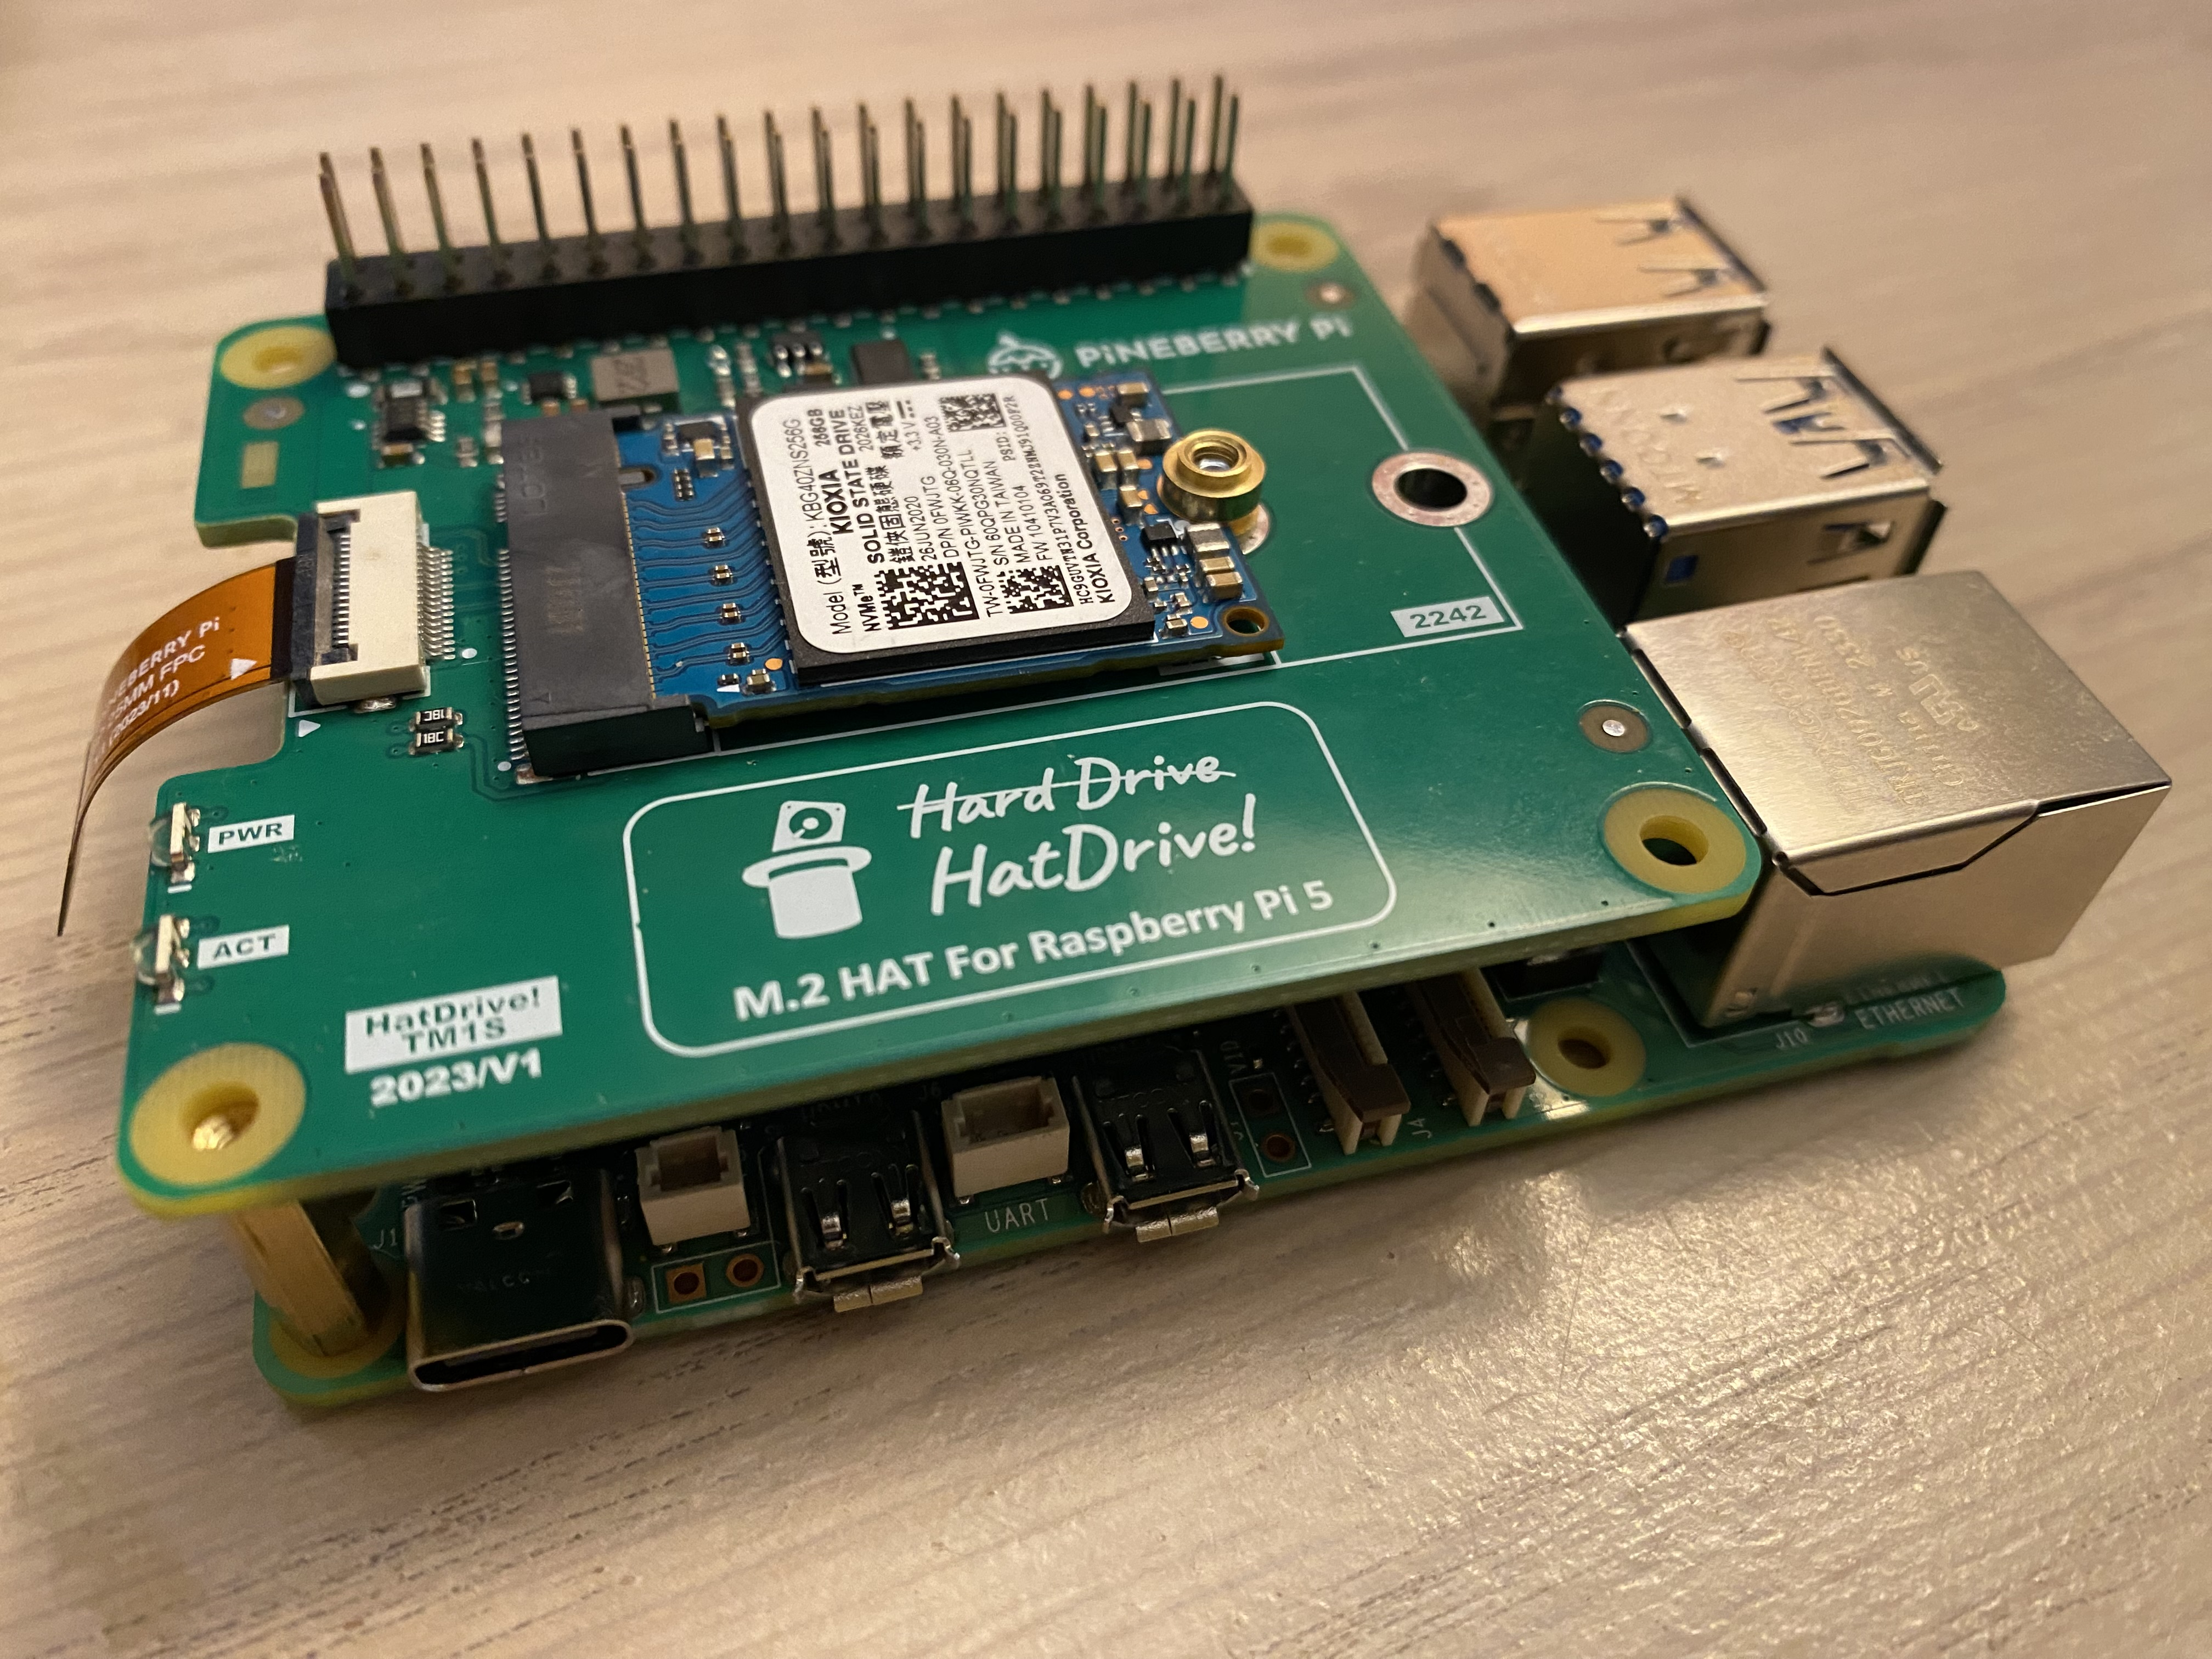
Source: Pineberry Pi
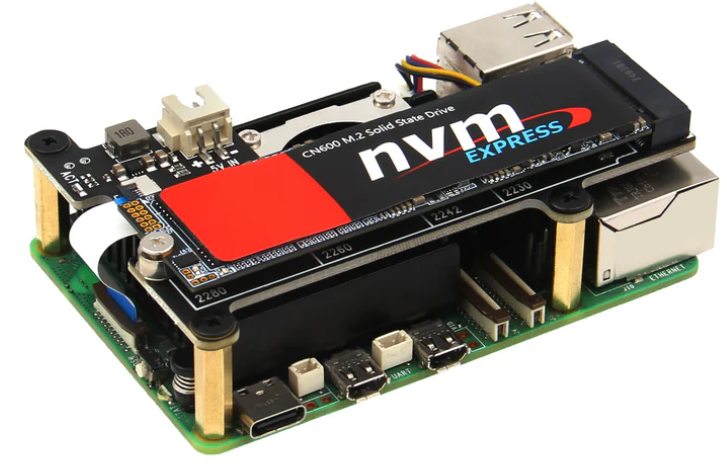
Source: Geekworm
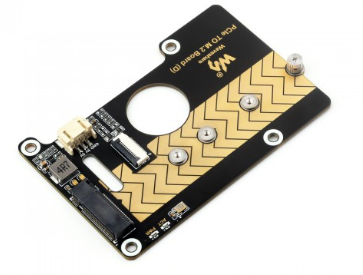
Source: Waveshare
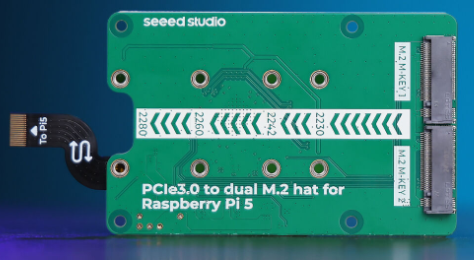
Source: SeeedStudio
Follow these steps to set up your NVMe HAT:
Power off the Raspberry Pi 5.
Attach the NVMe HAT to the Raspberry Pi 5’s PCIe connector.
Insert the NVMe SSD into the M.2 slot on the HAT.
Secure the SSD with the provided screw.
Attach the heatsink (if included) to the SSD for thermal management.
Ensure your Raspberry Pi 5 is powered by a 5V/5A power supply.
For dual M.2 HATs, connect an external power supply (e.g., 12V/2A) to the HAT.
Power on the Raspberry Pi 5.
The NVMe SSD should be detected automatically.
Open the terminal and check if the NVMe SSD is detected:
bash
Copy
lsblk
Format the SSD (if necessary):
bash
Copy
sudo mkfs.ext4 /dev/nvme0n1
Mount the SSD:
bash
Copy
sudo mount /dev/nvme0n1 /mnt/nvme
Add
the SSD to /etc/fstab for
automatic mounting at boot:
bash
Copy
/dev/nvme0n1 /mnt/nvme ext4 defaults 0 0
PCIe 2.0 x1 Limitation:
The Raspberry Pi 5’s PCIe 2.0 x1 interface has a theoretical bandwidth of 500 MB/s.
High-end NVMe SSDs may not reach their full potential due to this limitation.
Thermal Management:
NVMe SSDs can generate heat under heavy load.
Use the included heatsink or add a small fan for active cooling.
Power Consumption:
NVMe SSDs can draw more power than the Raspberry Pi 5 can supply via its PCIe connector.
Dual M.2 HATs require an external power supply.
Configure the Raspberry Pi 5 to boot directly from the NVMe SSD:
Update the bootloader:
bash
Copy
sudo rpi-eeprom-update -a
Set the boot order in the bootloader configuration:
bash
Copy
sudo nano /boot/firmware/config.txt
Add the line:
Copy
boot_order=0xf41
Reboot the Raspberry Pi 5.
Use a Dual M.2 HAT to set up RAID 0 (striping for performance) or RAID 1 (mirroring for redundancy):
Install mdadm:
bash
Copy
sudo apt install mdadm
Create a RAID array:
bash
Copy
sudo mdadm --create /dev/md0 --level=1 --raid-devices=2 /dev/nvme0n1 /dev/nvme1n1
Budget Option: WD Green SN350 (500GB, ~$40).
Mid-Range: Samsung 970 EVO Plus (500GB, ~$60).
High-End: Sabrent Rocket 4 Plus (1TB, ~$100).
SSD Not Detected:
Ensure the HAT is properly connected to the PCIe connector.
Check the power supply to the HAT (if applicable).
Slow Performance:
Verify the SSD is using the PCIe 2.0 x1 interface.
Monitor temperatures and ensure proper cooling.
Raspberry Pi M.2 HAT+: https://www.raspberrypi.com
Pimoroni: https://shop.pimoroni.com
Pineberry Pi: https://pineberry.ai
Geekworm: https://geekworm.com
SeeedStudio: https://www.seeedstudio.com
Amazon/AliExpress: For generic NVMe HATs and SSDs.
NVMe HATs provide an excellent way to expand the storage capabilities of the Raspberry Pi 5. Whether you choose the Raspberry Pi M.2 HAT+, the budget-friendly NVMe Base, or a dual M.2 HAT for RAID configurations, these solutions offer significant performance improvements over traditional storage options.
If you have any specific questions or need further assistance, feel free to ask!
This updated article now includes the SeeedStudio Dual M.2 HAT and photos of each HAT for visual reference. Let me (deepseek) know if you’d like to refine or expand any section!
The author uses and recommends the inexpensive NVMe Base for RPI5 Hat, mounted under the Rpi 5. This leaves the space above the Rpi board available for cooling devices and GPIO access.
Edit Notes:
As with most AI assistants, it was necessary to coax DeepSeek to include all of the hats listed.
This article was created by DeepSeek and copied into LibreOffice. Page Numbers were added. However all of the images appeared as placeholders. DeepSeek’s solution was a link to each supplier’s product page. So each image was manually copied and pasted into LibreOffice. Some images could only be copied using prntscr.com. Many Suppliers also offer multiple versions of each board, with very different capabilities.
Issues and Solutions:
Issue 01:
The web page (.html) created by LibreOffice: File:Send … Create HTML Document was invalid.
Solution: File:Preview in Web Browser
then Save this file as NVMeHATsForRaspberryPi5_verB.htm (not html)
This file is a valid web page.
Issue 02:
A separate copy of each image was given a unique name and was stored in the same folder.
Solution: The image file names were examined and only those matching the version number of the version letter should be copied into the final web page folder. A better solution is to use a macro that references only one image name.
Issue 03:
The .htm file that is saved should have a name with a letter and a number for the version.
Solution: Unknown
Source: https://chat.deepseek.com/
Author: DavidKCole (David@ColeCanada.com)
Date: 2025Cmar13
AI assistant: DeepSeek
Version: B
Saved on: LeNovo in D:/DocumentsD/2025/
Final file: NVMeHATsForRaspberryPi5_verB2.htm